10 Christmas Hot Chocolate Bar Ideas That Will Steal the Show This Holiday Season
Quick Answer: The best Christmas hot chocolate bar ideas combine a warm chocolate base, a variety of textured toppings, and cozy styling that invites guests to linger. From rustic farmhouse setups to elegant gold-and-white displays, these 10 ideas show you how to build a station that feels effortless, festive, and completely your own.
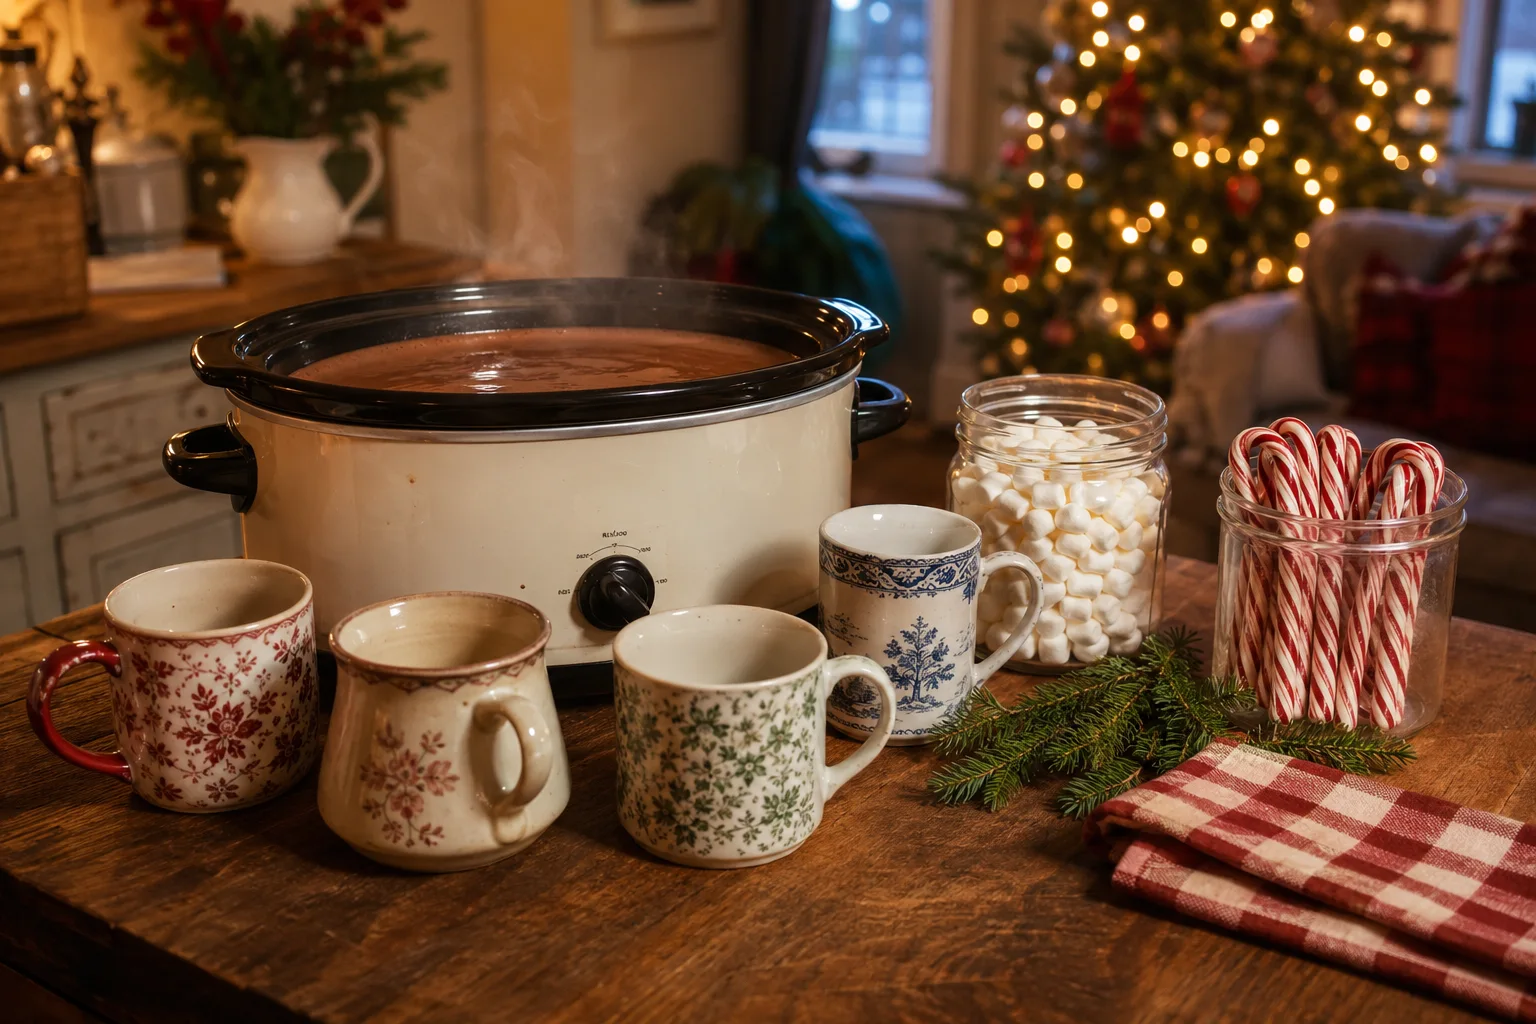
There’s something about a hot chocolate bar that turns an ordinary gathering into the kind of evening people remember. Maybe it’s the way steam curls up from the crockpot, or how everyone gathers around choosing their toppings like it’s the most important decision of the night. Whatever it is, we can’t get enough of it around here.
This year, we pulled together the coziest, most creative hot chocolate bar ideas we could find — from simple tabletop setups you can throw together in twenty minutes to full-blown holiday displays worthy of your own Christmas card photo. There’s a little something for every budget, every space, and every level of “I have time for this.”
Heads up: This post may include affiliate links. As an Amazon Associate, I earn from qualifying purchases—at no extra cost to you. Full privacy policy and disclosure here.
1. The Farmhouse Crate Bar
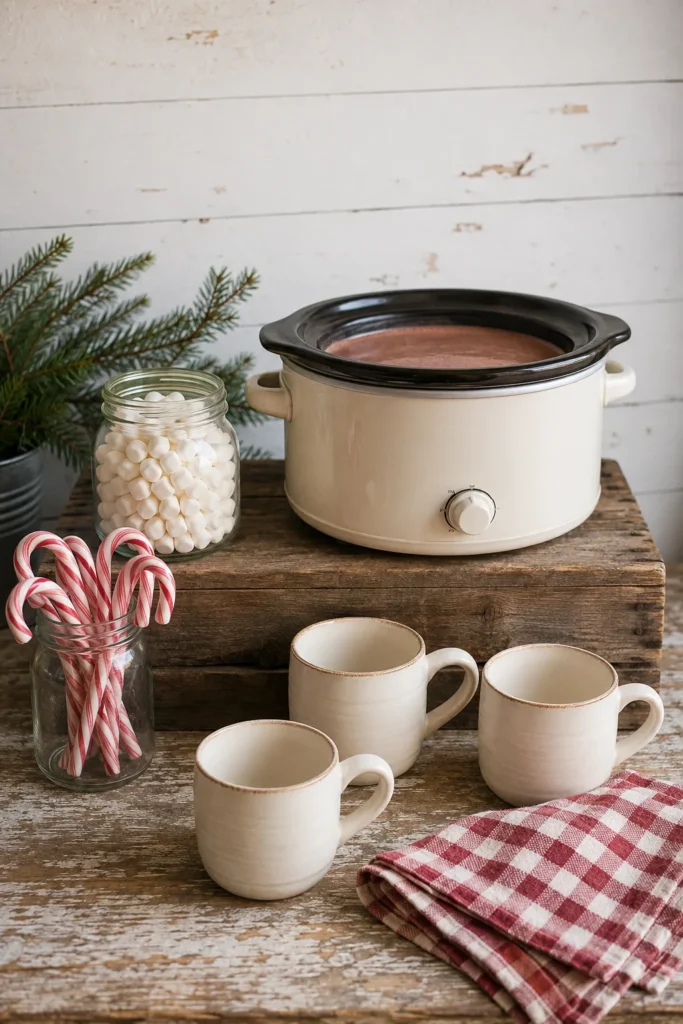
Two stacked wooden crates do all the heavy lifting here, creating instant height and dimension without a single trip to a craft store. The eye lands first on the little chalkboard propped against the top crate, its cursive lettering slightly imperfect in the most charming way.
Why You’ll Love It
It uses things you probably already own — crates, mason jars, a scrap of burlap — so the whole thing costs almost nothing and still looks intentional.
Best For
Farmhouse-style homes, casual family gatherings, or anyone who wants a station that photographs beautifully without trying too hard.
2. Blush and Gold Elegance
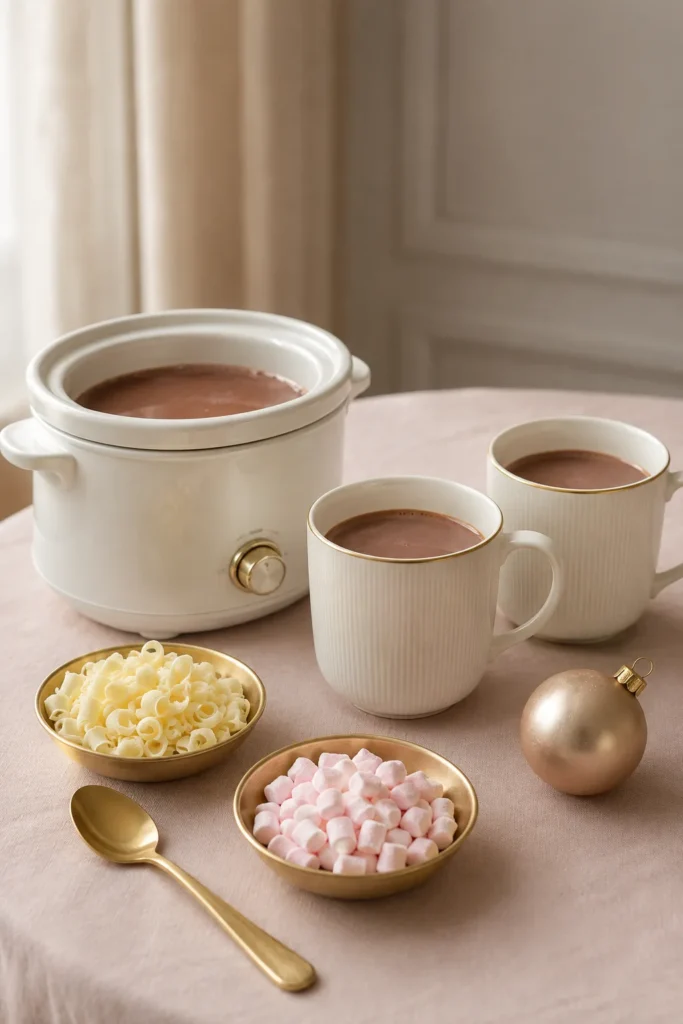
This one skips the traditional red-and-green entirely, and it’s better for it. Gold-rimmed mugs catch the candlelight while blush linens soften the whole scene into something that feels closer to a bridal shower than a holiday party — in the best way.
Why It Stands Out
Most hot chocolate bars lean rustic or classic. This palette feels fresh, a little unexpected, and instantly elevates a casual drink into something that feels like a real occasion.
Styling Tips
Skip the candy canes here and swap in rose-gold sprinkles and white chocolate shavings to keep the palette cohesive from top to bottom.
3. The Kids’ Candy Cane Station
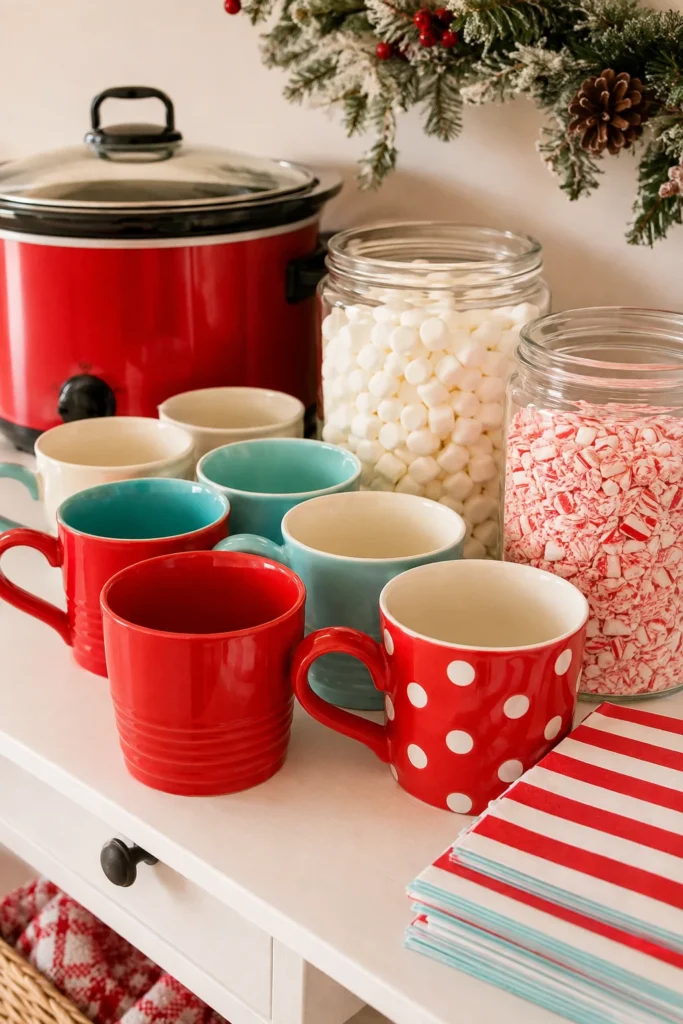
Set at just the right height for little hands, this station is loud, colorful, and completely unbothered by matching anything. Crushed candy cane bits spill slightly over the jar’s edge — proof this bar gets used, not just admired.
Mom Tip
Pre-portion toppings into small paper cups before the party so kids can grab and go without a marshmallow avalanche onto the floor.
Good to Know
Use unbreakable melamine mugs at this station and keep the heat source at the adult table — little hands and hot liquid don’t mix.
4. The Waffle Cone Marshmallow Bar
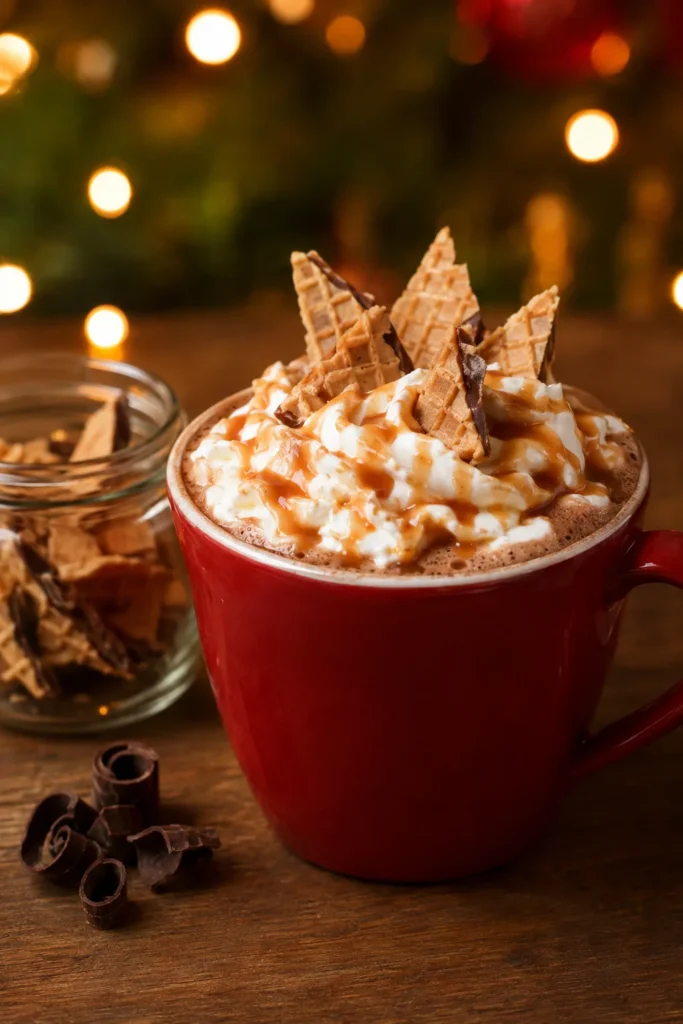
Nobody expects a waffle cone in their cocoa, which is exactly why it works. Standing upright in a swirl of whipped cream, the cone adds crunch, height, and a genuinely surprising detail that makes this entry impossible to scroll past.
Why It Stands Out
It’s the one topping combination on this list nobody else is doing, which makes it the easiest way to make your bar feel completely original.
Pair It With
A drizzle of caramel sauce over the whipped cream ties the cone-and-cream combination together into something that tastes like a sundae in a mug.
5. The Simple Two-Jar Setup
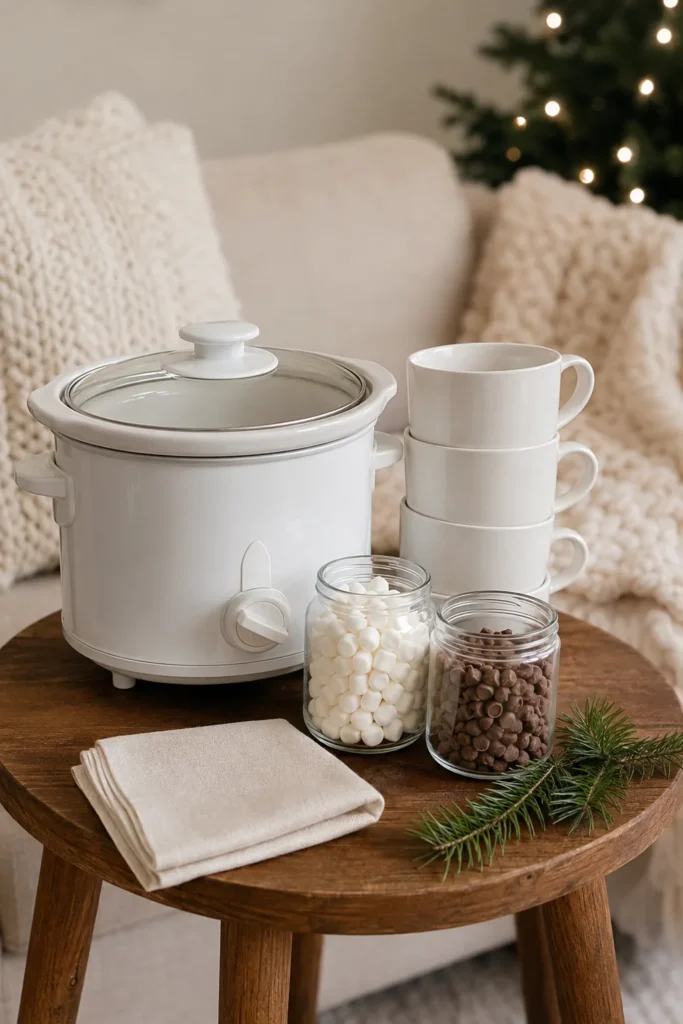
This is the version for the mom who wants the moment without the mess. Two glass mason jars, one crockpot, done — and somehow it still looks completely put together sitting on the side table.
Budget Tip
Everything here likely already lives in your kitchen. This setup proves you don’t need a theme, a color palette, or a trip to the store to pull off something guests will love.
Good to Know
Fewer options actually move the line faster at a busy party — sometimes simple is the smarter choice, not just the easier one.
6. Peppermint Bark Topping Bar
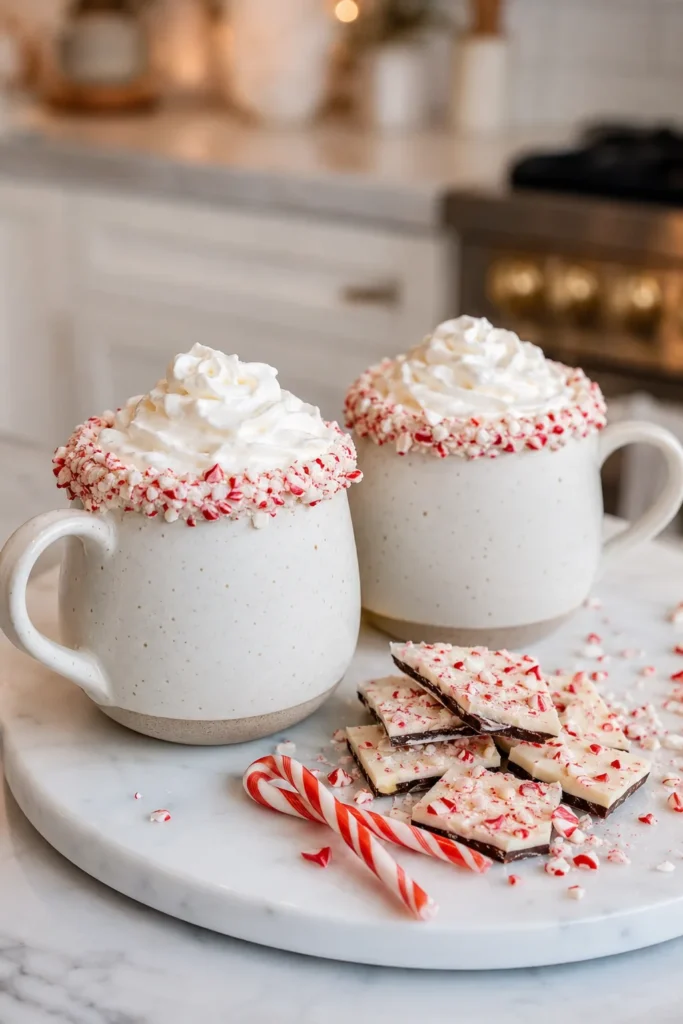
The rim does all the work here — dipped in white chocolate and pressed into crushed peppermint bark before it sets, so the first sip is already an event. Shards of the same bark sit nearby for anyone who wants to keep going.
Styling Tips
Prep the rimmed mugs the day before and store them in the fridge; the white chocolate holds its shape and saves you scrambling right before guests arrive.
Best For
Anyone hosting a peppermint-obsessed crowd or wanting one showstopper detail without redesigning the whole table.
7. Copper and Plaid Cabin Style
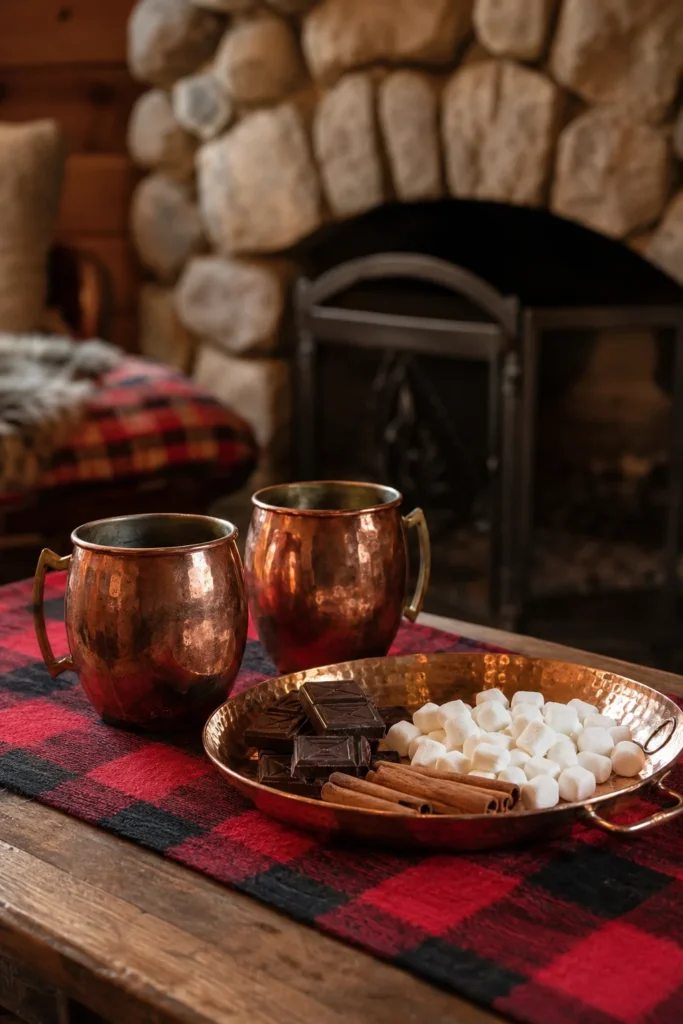
Copper mugs catch firelight the way silver never quite manages, warming this entire setup into something that feels borrowed from a mountain cabin. Cinnamon sticks tucked among the jars do double duty as both garnish and stirrer.
Pair It With
A splash of cinnamon or nutmeg stirred into the chocolate base itself carries the cabin theme from the table straight into the mug.
Best For
Cabin getaways, ski lodge-style gatherings, or anyone whose holiday decor already leans buffalo plaid.
8. Budget-Friendly Dollar Store Bar
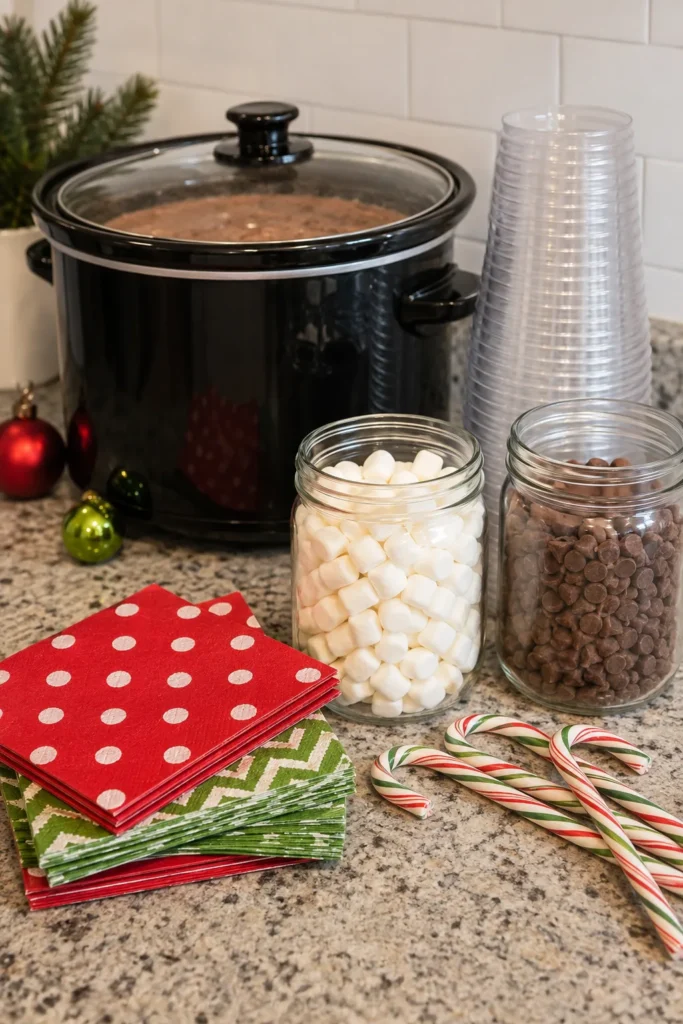
Every piece here came from a dollar store run, and it shows in the best way — bright, unfussy, and clearly built for fun rather than photographs. A simple paper banner does more heavy lifting than most people expect.
Budget Tip
Buy toppings in bulk bags rather than pre-portioned bags; it’s nearly always cheaper per ounce and lasts through multiple gatherings.
Best For
Classroom parties, playdates, or anyone hosting on a real budget without sacrificing the fun factor.
9. The Mini Marshmallow Snowman Bar
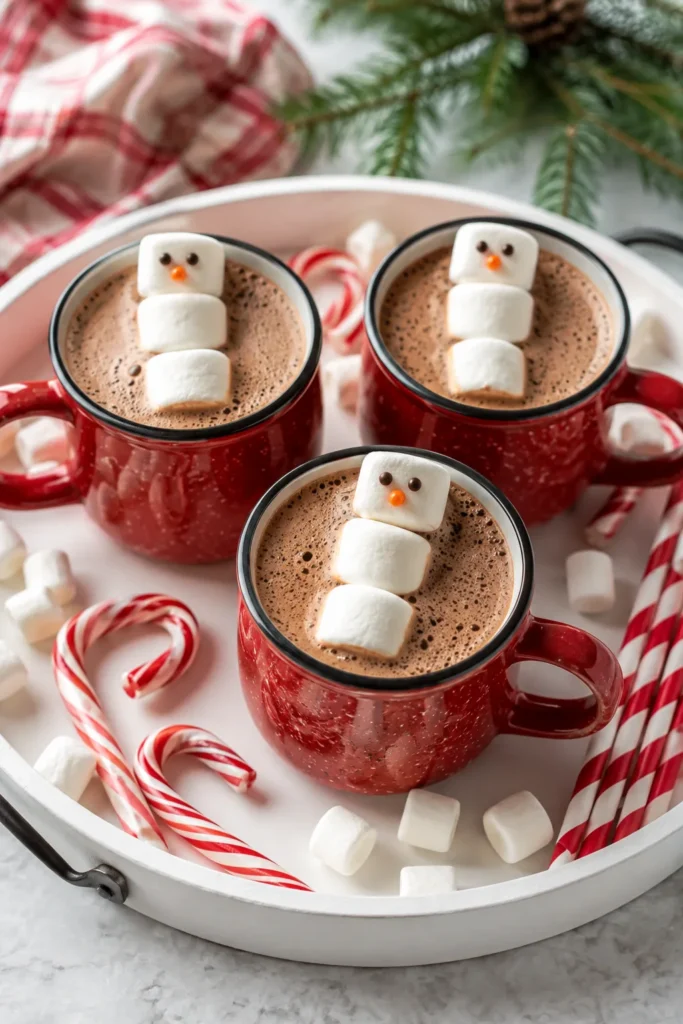
Three marshmallows stacked and decorated into a tiny snowman face turns every single mug into its own small craft project. The candy corn “nose” is the detail that gets the room laughing before anyone even takes a sip.
Mom Tip
Let kids build their own snowman marshmallow before it goes in the mug — it keeps little hands busy while the chocolate cools to a safer sipping temperature.
Best For
Kids’ parties, school events, or any gathering where the drink is really an excuse for a craft.
10. The Grand Holiday Open House Display
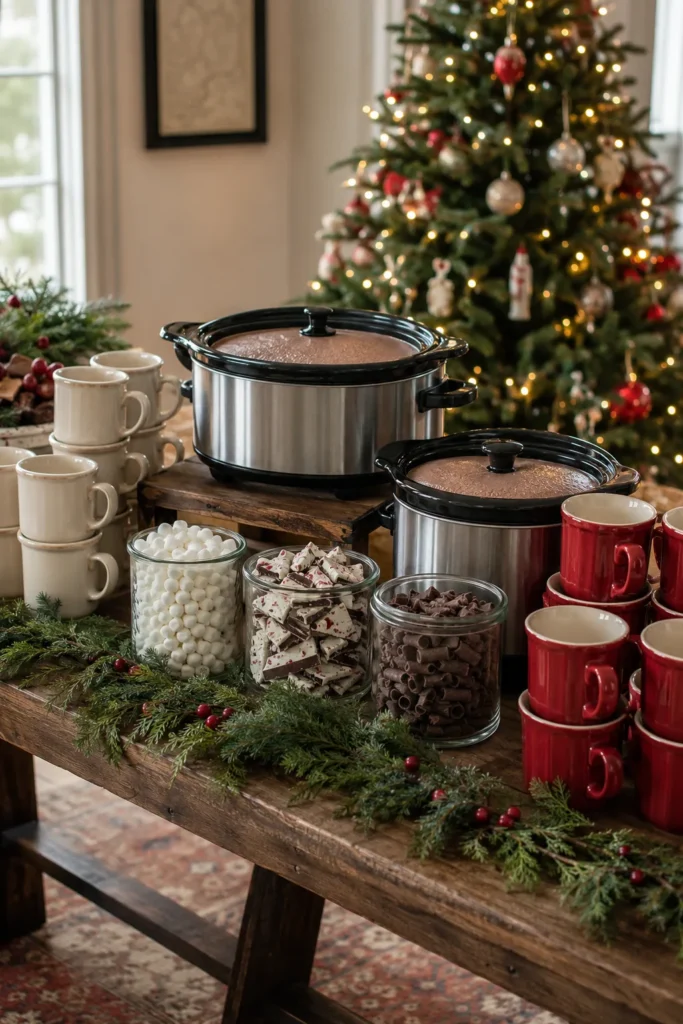
This is the version built for a full house — multiple crockpots staggered at different heights so the line never bottlenecks, garland trailing the table’s edge, and enough mug real estate at both ends that nobody has to wait long. It’s the bar every other entry on this list has been building toward.
Best For
Open houses, large family gatherings, or any night when the guest list runs well past twenty.
Styling Tips
Stagger crockpot heights using simple risers or overturned bowls beneath the tablecloth — it keeps the line moving and adds visual interest without extra cost.
Choosing the Right Setup for Your Budget
Not every hot chocolate bar needs to look like a magazine spread, and honestly, some of our favorite versions above cost less than twenty dollars to pull together. Here’s how the ideas on this list break down by investment, so you can pick what actually fits your night.
| Tier | Estimated Cost | Best Examples From This List | Effort Level |
|---|---|---|---|
| Simple | $20–$40 | The Simple Two-Jar Setup, Budget-Friendly Dollar Store Bar | Low — 20 minutes to set up |
| Moderate | $50–$85 | Farmhouse Crate Bar, Copper and Plaid Cabin Style, Peppermint Bark Topping Bar | Medium — an afternoon of prep |
| Splurge | $100+ | Grand Holiday Open House Display, Blush and Gold Elegance | Higher — multiple elements to source and style |
What You Actually Need to Get Started
Before you fall in love with a specific look, it helps to know the short list of essentials every single one of these ideas is built on. A basic set of hot cocoa station supplies covers most of this list in one purchase if you’d rather not piece it together yourself.
- A heat source: a crockpot, insulated carafe, or stovetop pot kept warm nearby
- A chocolate base: your favorite mix, melted chocolate, or homemade recipe
- Mugs or cups: enough for your guest count, plus a few extra
- 5–10 toppings: a mix of textures — crunchy, creamy, and melty
- Spoons or stirrers: for mixing, plus small tongs or scoops for topping jars
Everything past this list is styling. It matters, but it’s not the reason the bar works.
Common Mistakes to Avoid
- Buying too many toppings: A crowded table overwhelms guests and leaves you with stale leftovers. Five to eight well-chosen options beat fifteen forgettable ones.
- Letting the chocolate cool too long before serving: Keep it on low heat throughout the party instead of pouring it all at once at the start.
- Skipping labels: Guests move faster and make fewer mistakes when jars are clearly labeled, especially with allergens like nuts or dairy.
- Forgetting a spot for used spoons: A small empty jar or tray keeps sticky spoons from piling up on your linens.
- Not accounting for space: A cramped table slows the line down. Give the bar more width than you think it needs.
Frequently Asked Questions
How do you set up a Christmas hot chocolate bar?
Start with a heat source like a crockpot to keep chocolate warm throughout the party, then arrange 5–10 toppings in small jars or bowls nearby, along with mugs, spoons, and napkins. Add greenery, string lights, or a simple sign for festive styling, and set it up about 30 minutes before guests arrive.
How long can hot chocolate sit out safely?
Hot chocolate should be kept at or above 140°F to stay food-safe, which a crockpot on low or warm setting handles easily. Most bars can safely stay out for 2–4 hours as long as the heat source stays on the entire time.
Can you make a hot chocolate bar ahead of time?
Yes — toppings can be portioned into jars the night before, and mugs can be pre-rimmed with chocolate or sprinkles up to a day ahead and stored in the fridge. The chocolate base itself is best made the day of, or reheated gently in a crockpot from a make-ahead batch.
What’s the best way to keep toppings from going stale?
Store crunchy toppings like crushed candy cane or cookie pieces in airtight containers until just before the party, and only fill display jars once guests are about to arrive. Anything with chocolate should stay away from direct heat sources on the table.
Do I need a crockpot to make this work?
Not at all — a stovetop pot kept on low heat, an insulated beverage dispenser, or even a slow-cooker on the “keep warm” setting all work well. Choose whichever option best matches how long your gathering will run.
What toppings work for guests with allergies?
Offer dairy-free marshmallows, nut-free sprinkles, and clearly labeled jars so guests can identify safe options at a glance. Keeping allergen-heavy toppings, like crushed nuts, in a separate labeled bowl away from the main spread helps prevent cross-contact.



2 Comments