10 Christmas Ornament Crafts for Kids That Actually Work
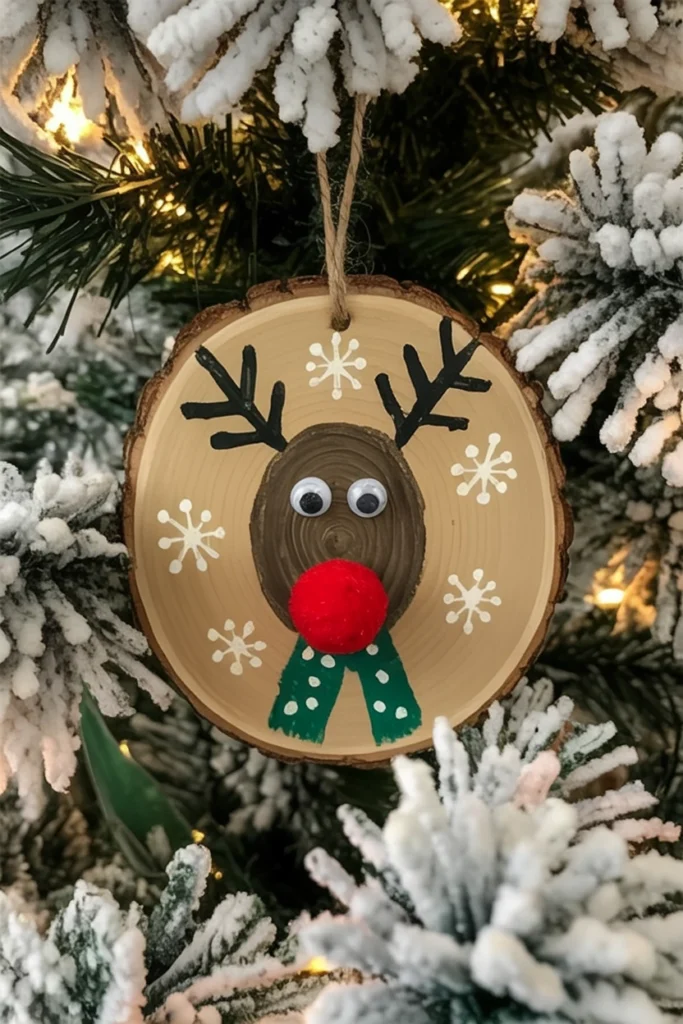
Fingerprint reindeer are the gateway ornament craft—simple enough for toddlers, charming enough that you’ll want to keep them forever. A few fingerprints and googly eyes transform a plain ornament into a character with personality.
Heads up: This post may include affiliate links. As an Amazon Associate, I earn from qualifying purchases—at no extra cost to you. Full privacy policy and disclosure here.
How to Make It
- Squeeze a small amount of brown or red washable paint onto a plate or use a stamp pad.
- Press two fingerprints near the top of the ornament, angled outward, for antlers. Add a straight fingerprint below for the head.
- Let dry for 5–10 minutes.
- Glue on two googly eyes.
- Glue on a small red pom-pom (or jingle bell) for the nose.
- Let dry fully before hanging.
Styling Tips
Use brown or tan ornaments as your base (they read as reindeer instantly). Let each child choose their own eye color or add a jingle bell instead of a pom-pom nose for a rustic look. For perfectly sized fingerprints, try non-toxic washable stamp pads in festive colors.
Prep & Activity Time
Prep: 5 minutes (gather supplies). Activity: 10 minutes. Cost: $3–5 for supplies.
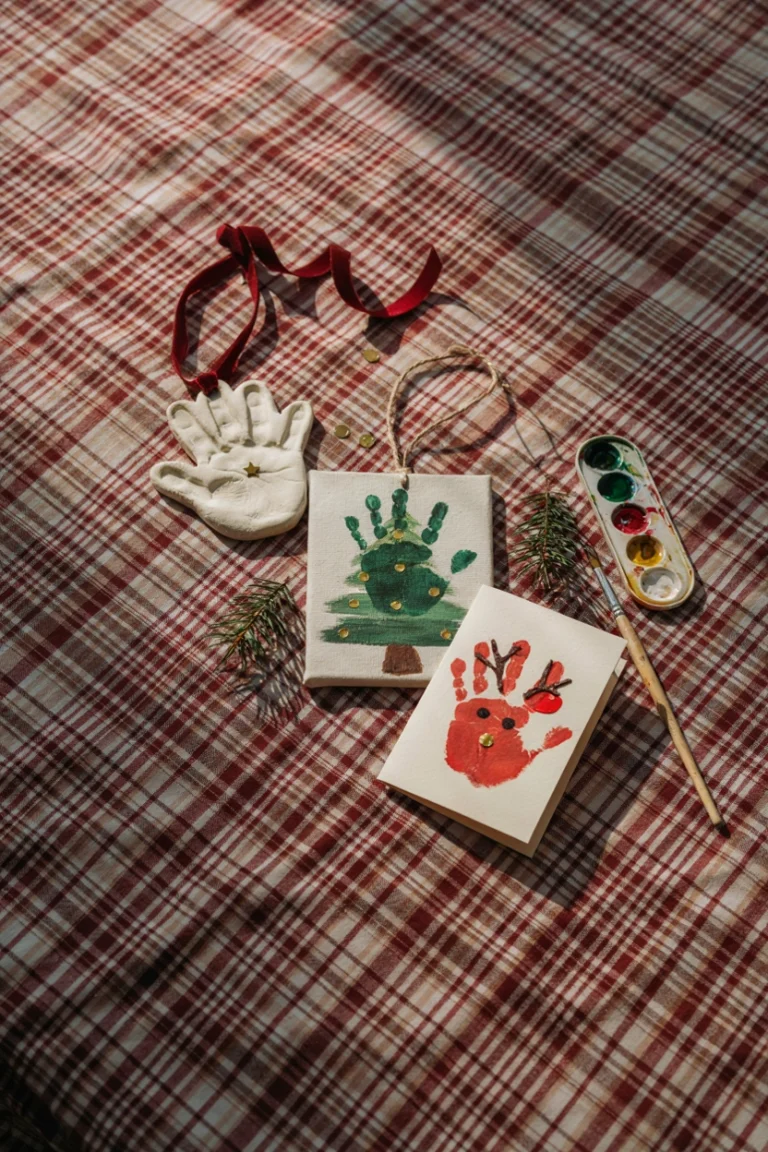
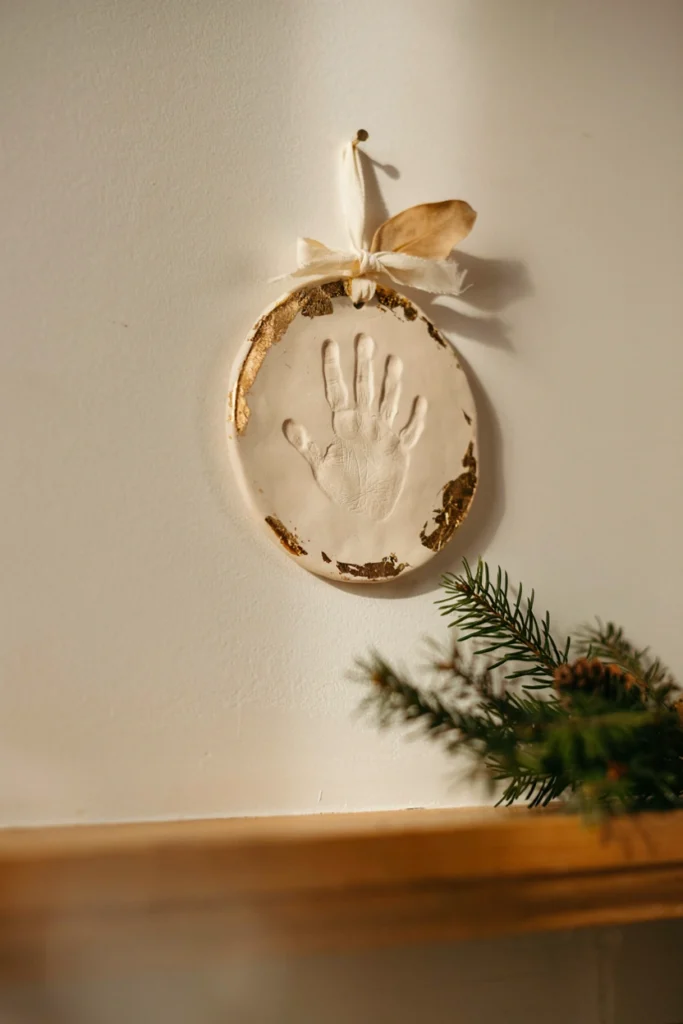
Salt dough handprints capture your child’s hand at this exact moment in time. When they’re older, holding an ornament with their tiny four-year-old handprint is going to make you cry.
How to Make It
- Mix 2 cups flour, 1 cup salt, and ½ cup water. Knead until smooth (or use a salt dough kit).
- Roll the dough to about ½-inch thickness on a floured surface.
- Press your child’s hand firmly into the dough to leave a clear print.
- Trim around the print with a knife or cookie cutter, leaving a small border.
- Poke a hole near the top with a straw for hanging.
- Bake at 250°F for 2–3 hours, until completely hard. Let cool.
- Paint the handprint in a neutral color, then add the name and year with a fine brush.
- Seal with polyurethane once dry.
Styling Tips
Paint the handprint in a soft neutral (white, cream, pale blue), then add the child’s name and year in a simple script. Seal it with polyurethane for durability and a slight shine.
Prep & Activity Time
Prep: 10 minutes (make dough). Activity: 20 minutes (press and shape). Baking: 2–3 hours at 250°F. Cost: Under $2.
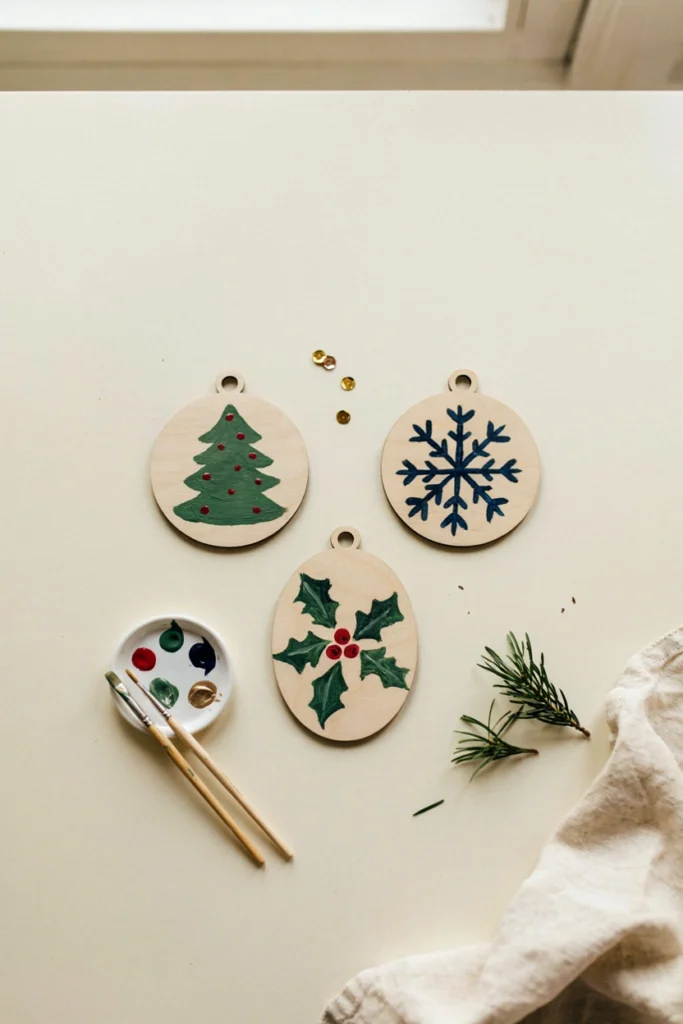
Blank wooden ornaments are your secret weapon. They’re affordable, they take paint beautifully, and there’s no pressure to make them perfect—imperfect is the point.
How to Make It
- Lay out blank wooden ornaments and 2–3 colors of washable tempera paint.
- Let kids paint dots, stripes, or shapes directly onto the wood with brushes or cotton swabs.
- Add gold or silver paint pen accents once the base coat is dry.
- Let dry for 1–2 hours.
- Seal with a clear matte spray for protection.
Styling Tips
Offer a limited color palette (two or three colors max) to keep the design cohesive. Gold or silver accents add a grown-up touch that kids love.
Prep & Activity Time
Prep: 2 minutes. Activity: 15–20 minutes. Drying: 1–2 hours. Cost: $1–2.
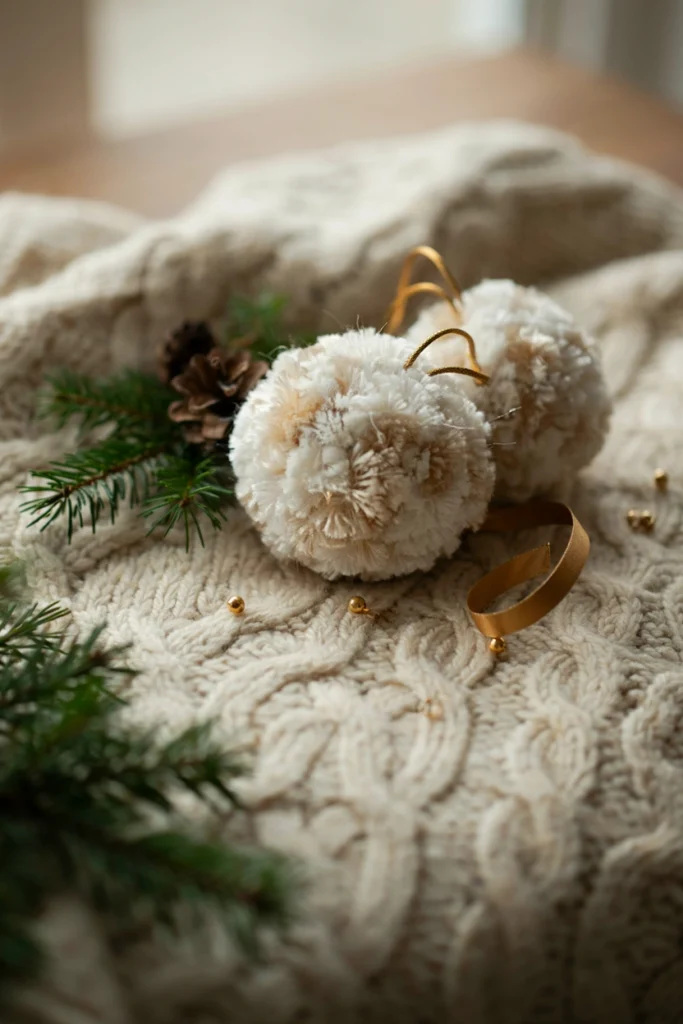
Pom-poms glued into a ball look deceptively sophisticated but require almost no skill. Kids love the tactile element, and the final ornament feels soft and huggable.
How to Make It
- Gather a mix of white and cream pom-poms in a few sizes.
- Have an adult apply hot glue to a foam or paper ball base (or straight onto a plastic ornament shell).
- Let kids press pom-poms onto the glued sections, filling gaps as they go.
- Continue until the entire surface is covered.
- Let the glue set, then attach a ribbon or gold string loop for hanging.
Styling Tips
Use white and cream pom-poms for a monochromatic look, or add a single metallic pom-pom for contrast. Attach a velvet ribbon or gold string for hanging.
Prep & Activity Time
Prep: 5 minutes. Activity: 15 minutes (with hot glue help from an adult). Cost: $2–3.
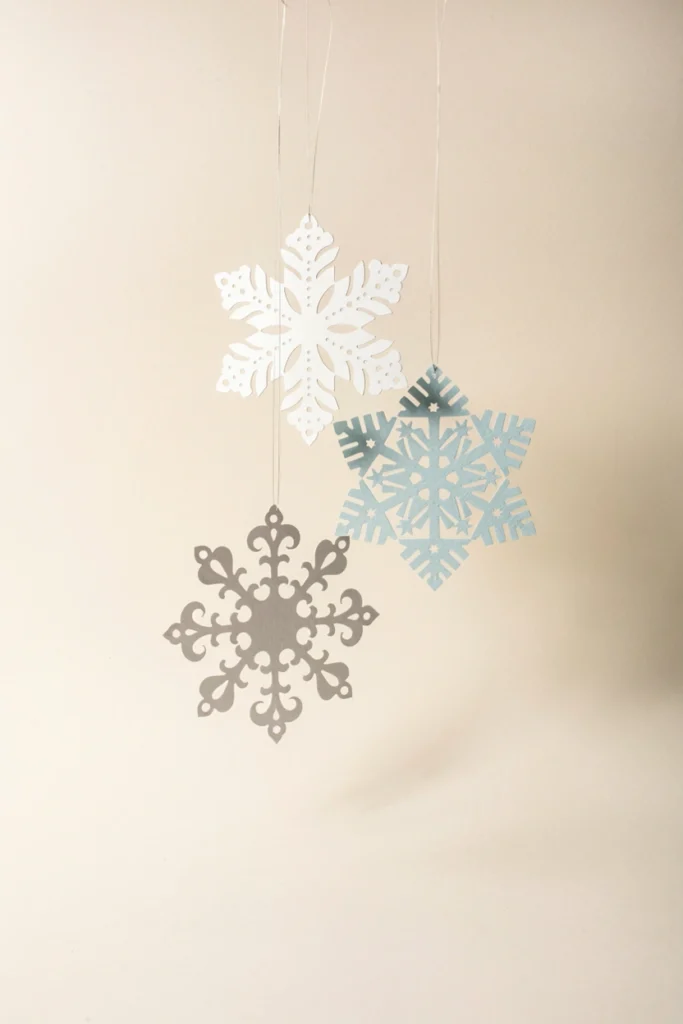
Paper snowflakes are a holiday classic because they work. They’re meditative to make, they look like genuine snow art, and they cost practically nothing.
How to Make It
- Fold a square piece of white cardstock or tissue paper in half, then in half again, then diagonally into a triangle.
- Cut small notches, triangles, and curves along the folded edges.
- Unfold carefully to reveal the snowflake pattern.
- Flatten by pressing under a heavy book for a few minutes, or lightly spritz with spray starch and let dry flat.
- Punch a small hole in one point and thread with clear monofilament for hanging.
Styling Tips
Use white cardstock or tissue paper for traditional snowflakes. Spritz lightly with spray starch for a subtle texture. Hang with clear monofilament so they appear to float.
Prep & Activity Time
Prep: 2 minutes. Activity: 15–20 minutes. Cost: Under $1.
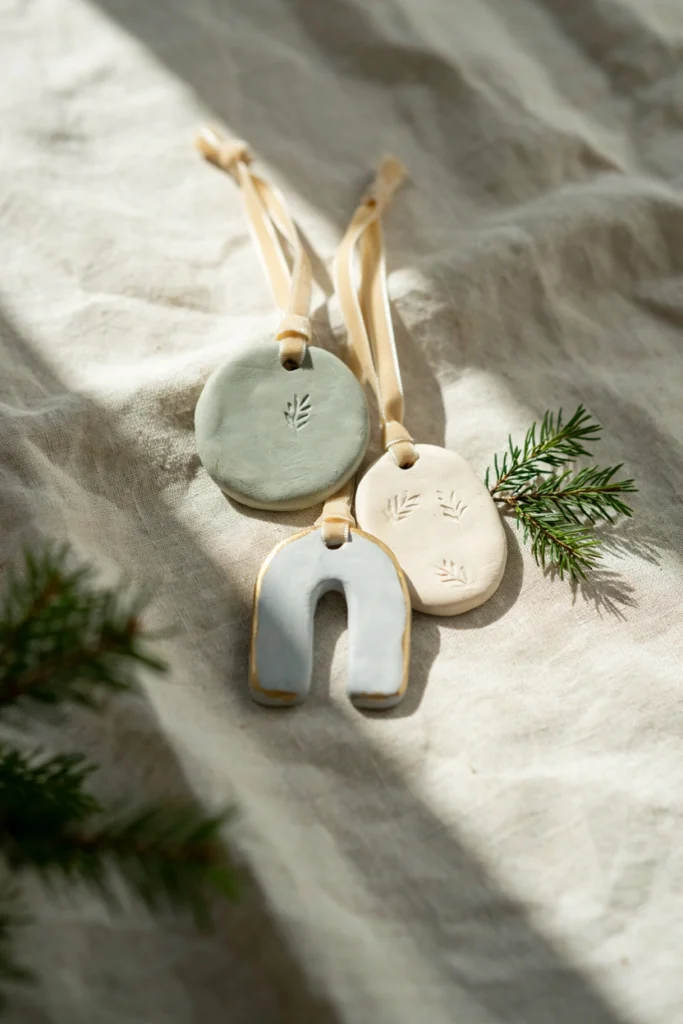
Air-dry clay lets kids mold something personal and tactile. A thumbprint, a handshake pressed into the clay, their initials—the possibilities are endless.
How to Make It
- Roll out air-dry clay to about ¼-inch thickness.
- Cut into a simple shape (circle, heart, or star) using a cookie cutter or knife.
- Press a thumbprint, handprint, or initials into the center.
- Poke a small hole near the top with a straw for hanging.
- Let air-dry for 24 hours on a flat surface, flipping halfway through.
- Paint in one soft color once fully dry.
- Add gold leaf or metallic pen details, then seal with clear matte spray.
Styling Tips
Keep shapes simple and organic. Paint in one soft color, then add gold leaf details or metallic pen accents. Seal with a clear matte spray.
Prep & Activity Time
Prep: 5 minutes. Activity: 20 minutes. Drying: 24 hours. Cost: $3–4.
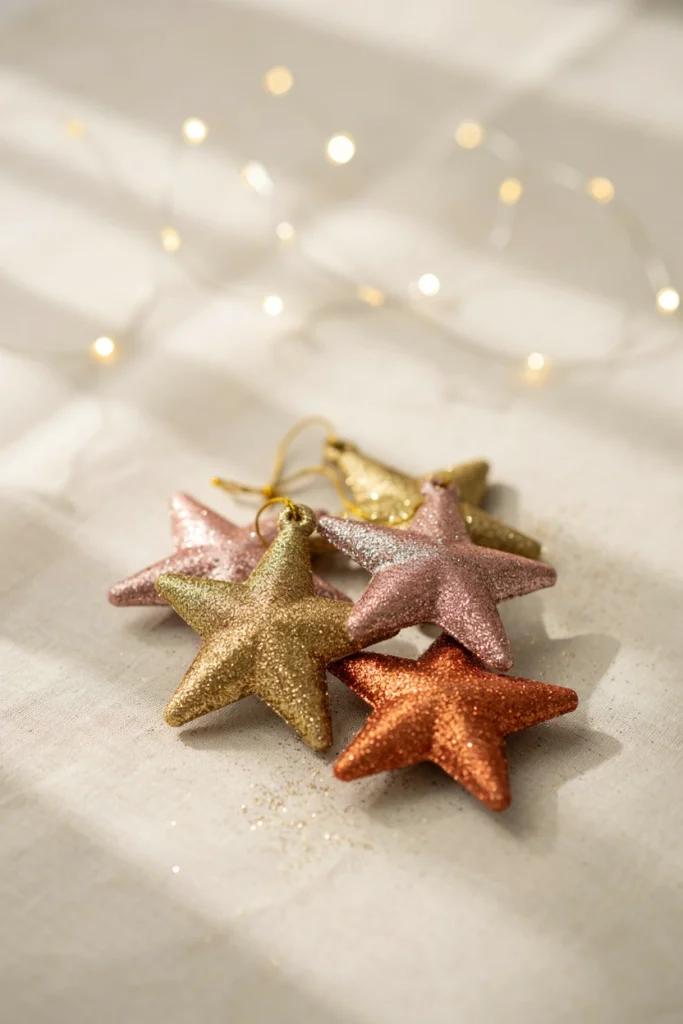
Glitter stars are unapologetically sparkly and fun—perfect for kids who love all the shimmer and shine of the holidays.
How to Make It
- Cut a star shape from cardboard or a wooden blank, or use a pre-made star ornament.
- Brush a layer of craft glue (like Mod Podge) evenly over one side.
- Sprinkle glitter generously over the glued surface, working over a tray to catch excess.
- Tap off extra glitter and let dry for 2–3 hours.
- Seal with a clear gloss spray so glitter doesn’t shed on the tree.
- Attach a ribbon or string loop for hanging.
Styling Tips
Use glitter in warm metallics (gold, rose gold, copper) rather than bright multi-color glitter for a more sophisticated look. Seal the glitter with a clear gloss spray so it doesn’t shed on the tree.
Prep & Activity Time
Prep: 5 minutes. Activity: 15 minutes (more if kids are older and making their own star shapes). Drying: 2–3 hours. Cost: $2–3.
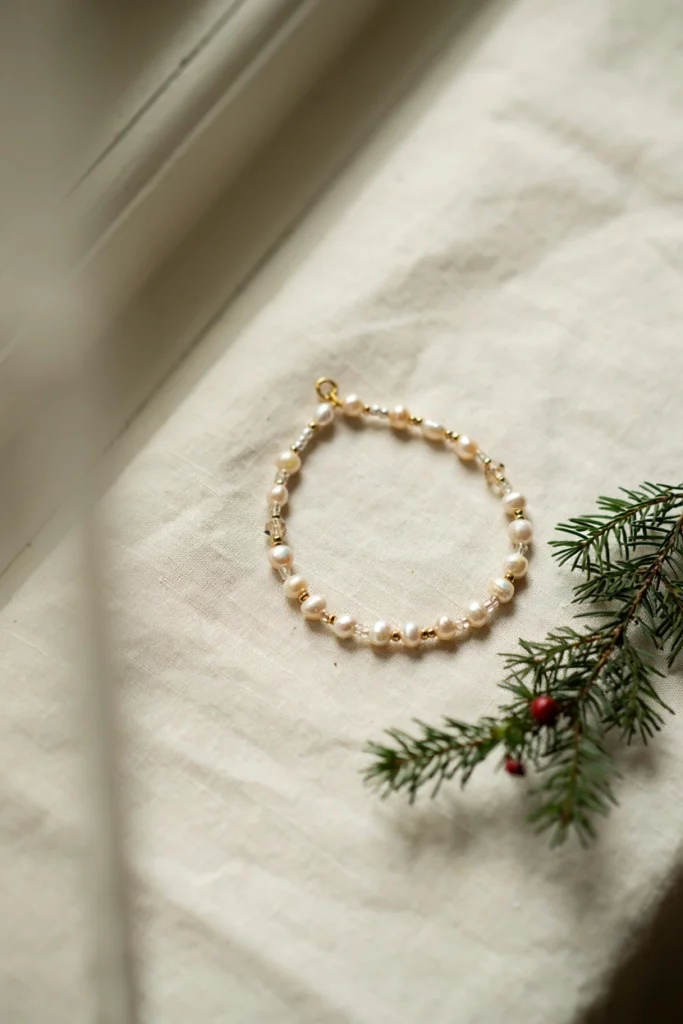
Beaded ornaments appeal to older kids (ages 8+) who want something more sophisticated. Threading beads is meditative and produces a refined-looking result.
How to Make It
- Cut a length of clear monofilament, about 12–14 inches.
- Tie a large bead or knot at one end so beads won’t slide off.
- Have kids thread beads in their chosen combination, mixing sizes for interest.
- Once full, tie the two ends together in a knot, hiding the knot inside a bead.
- Shape into a loop or spiral and use as-is, or wrap around a plain ornament base.
Styling Tips
Stick to one color family (pearls, golds, creams) for a cohesive look. Mix bead sizes for visual interest. Tie the ends with a bow or knot and hide the knot under a bead.
Prep & Activity Time
Prep: 10 minutes (thread beads onto monofilament). Activity: 20 minutes. Cost: $4–6.
Decoupage is the sneaky way to let kids feel like artists. They tear up paper, glue it down, and boom—gallery-worthy ornament.

How to Make It
- Tear coordinating scrapbook paper into small, irregular pieces.
- Brush a layer of Mod Podge onto a clear or wooden ornament base.
- Press paper pieces onto the glued surface, overlapping edges for texture.
- Continue layering and gluing until the surface is covered.
- Brush a final layer of Mod Podge over the top to seal.
- Let dry for 2–3 hours.
Styling Tips
Choose a limited color palette of coordinating scrapbook paper. Tear (don’t cut) for a softer, more organic look. Seal with mod podge for a polished finish.
Prep & Activity Time
Prep: 5 minutes (gather materials). Activity: 20 minutes. Drying: 2–3 hours. Cost: $2–3.
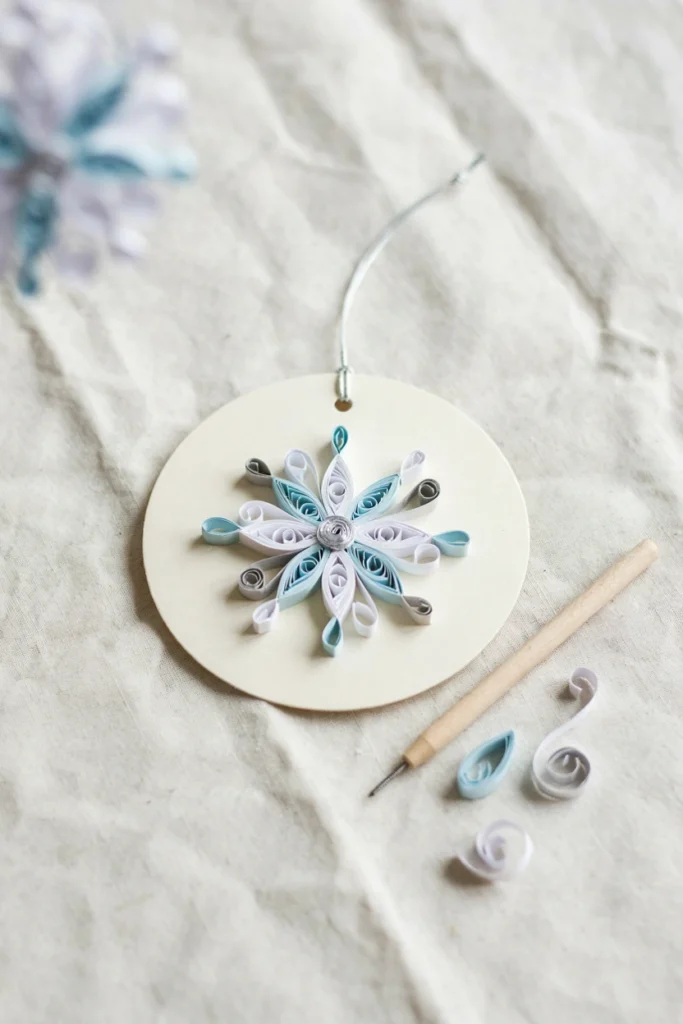
Paper quilling is an advanced craft that appeals to patient, detail-oriented kids ages 10+. The result feels like fine art.
How to Make It
- Cut or use pre-cut thin strips of paper (about ¼ inch wide) from a quilling kit.
- Roll a strip tightly around a quilling tool or toothpick to form a coil.
- Release the coil slightly and glue the end down to hold its shape.
- Pinch or shape coils into teardrops, petals, or points as needed for the design.
- Arrange the shaped coils into a snowflake or other pattern on a cardboard backing.
- Glue each piece in place and let dry.
- Attach a ribbon loop for hanging.
Styling Tips
Use white and silver paper for snowflakes, or opt for jewel tones for a richer look. Mount the finished quilling on a cardboard backing, then attach a ribbon.
Prep & Activity Time
Prep: 10 minutes (prepare paper strips). Activity: 30–45 minutes. Cost: $5–7 for a quilling kit.